Digital Certificate of Authenticity

Overview
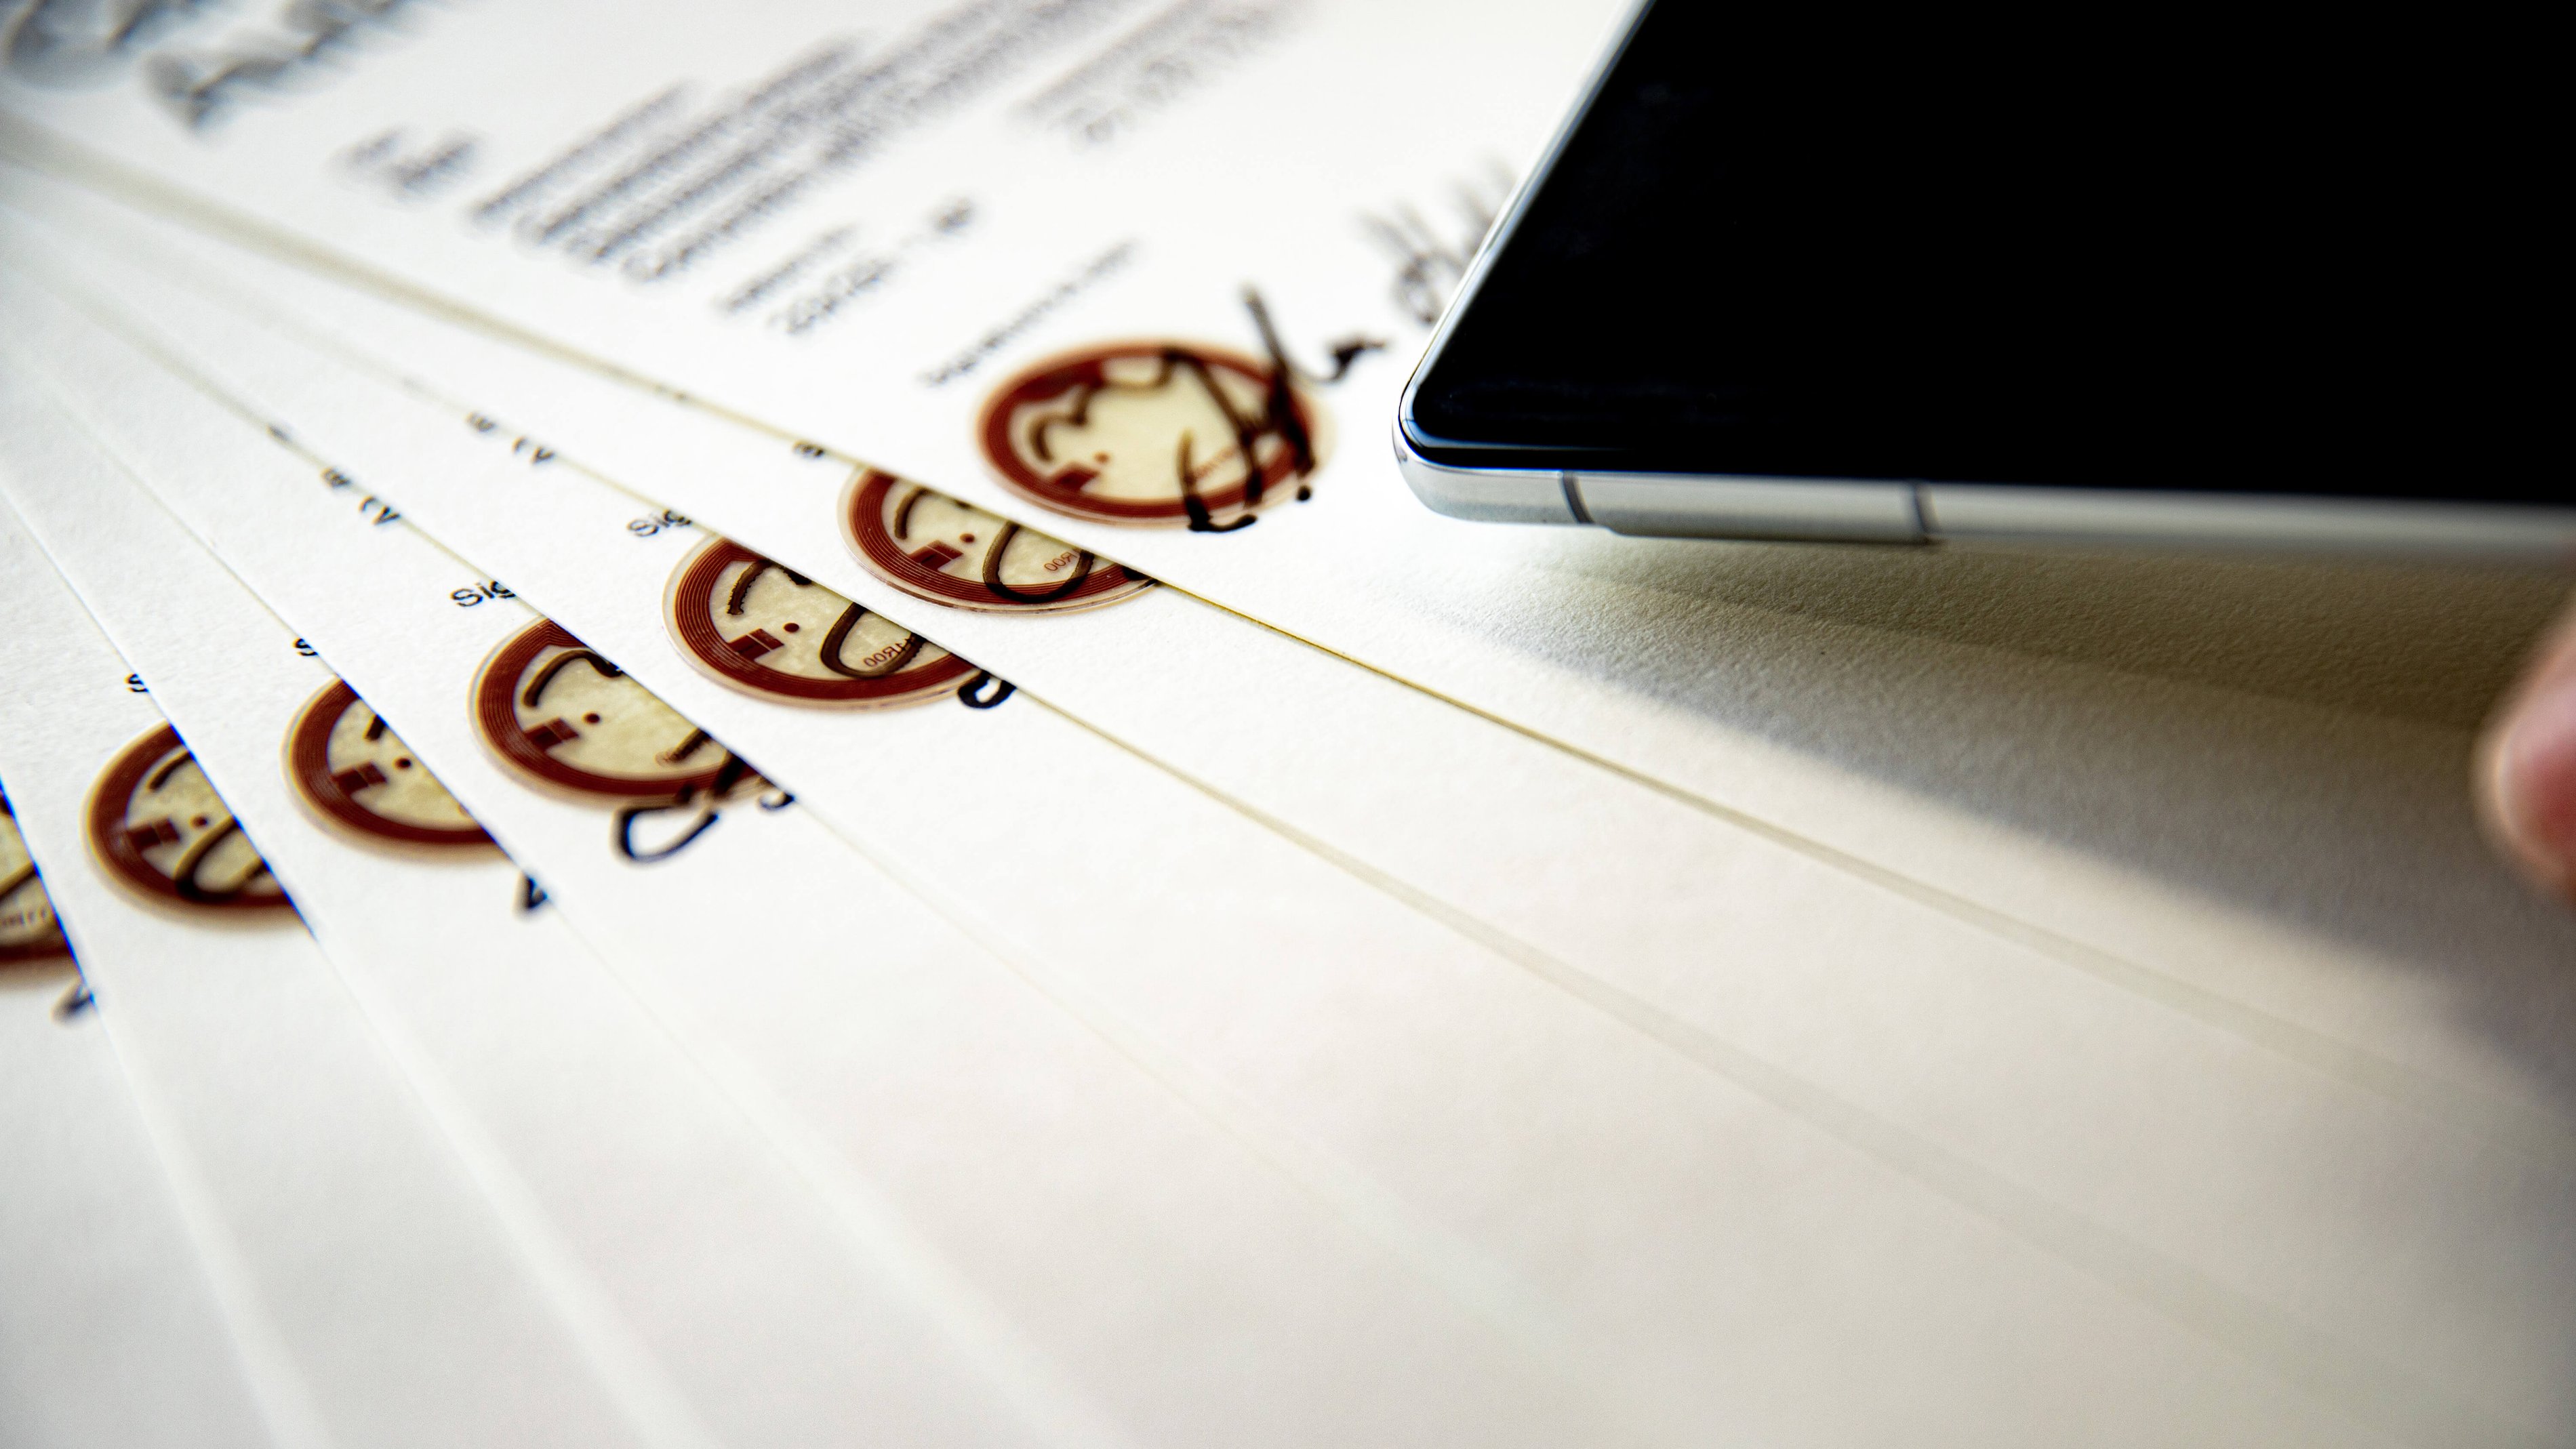
While you have the paper Certificate of Authenticity in hand, we also want to harness the power of the blockchain to aid in clear record-keeping and provenance.
When you claim this NFT, you’re creating a record on the blockchain with our smart contract. The NFT only indicates ownership of this physical piece of art and can not be sold or traded.
What you need
Most smartphones are equipped with NFC reader capabilities. Tapping the chip with your phone allows you to activate the chip and claim access to the NFT — no app required.
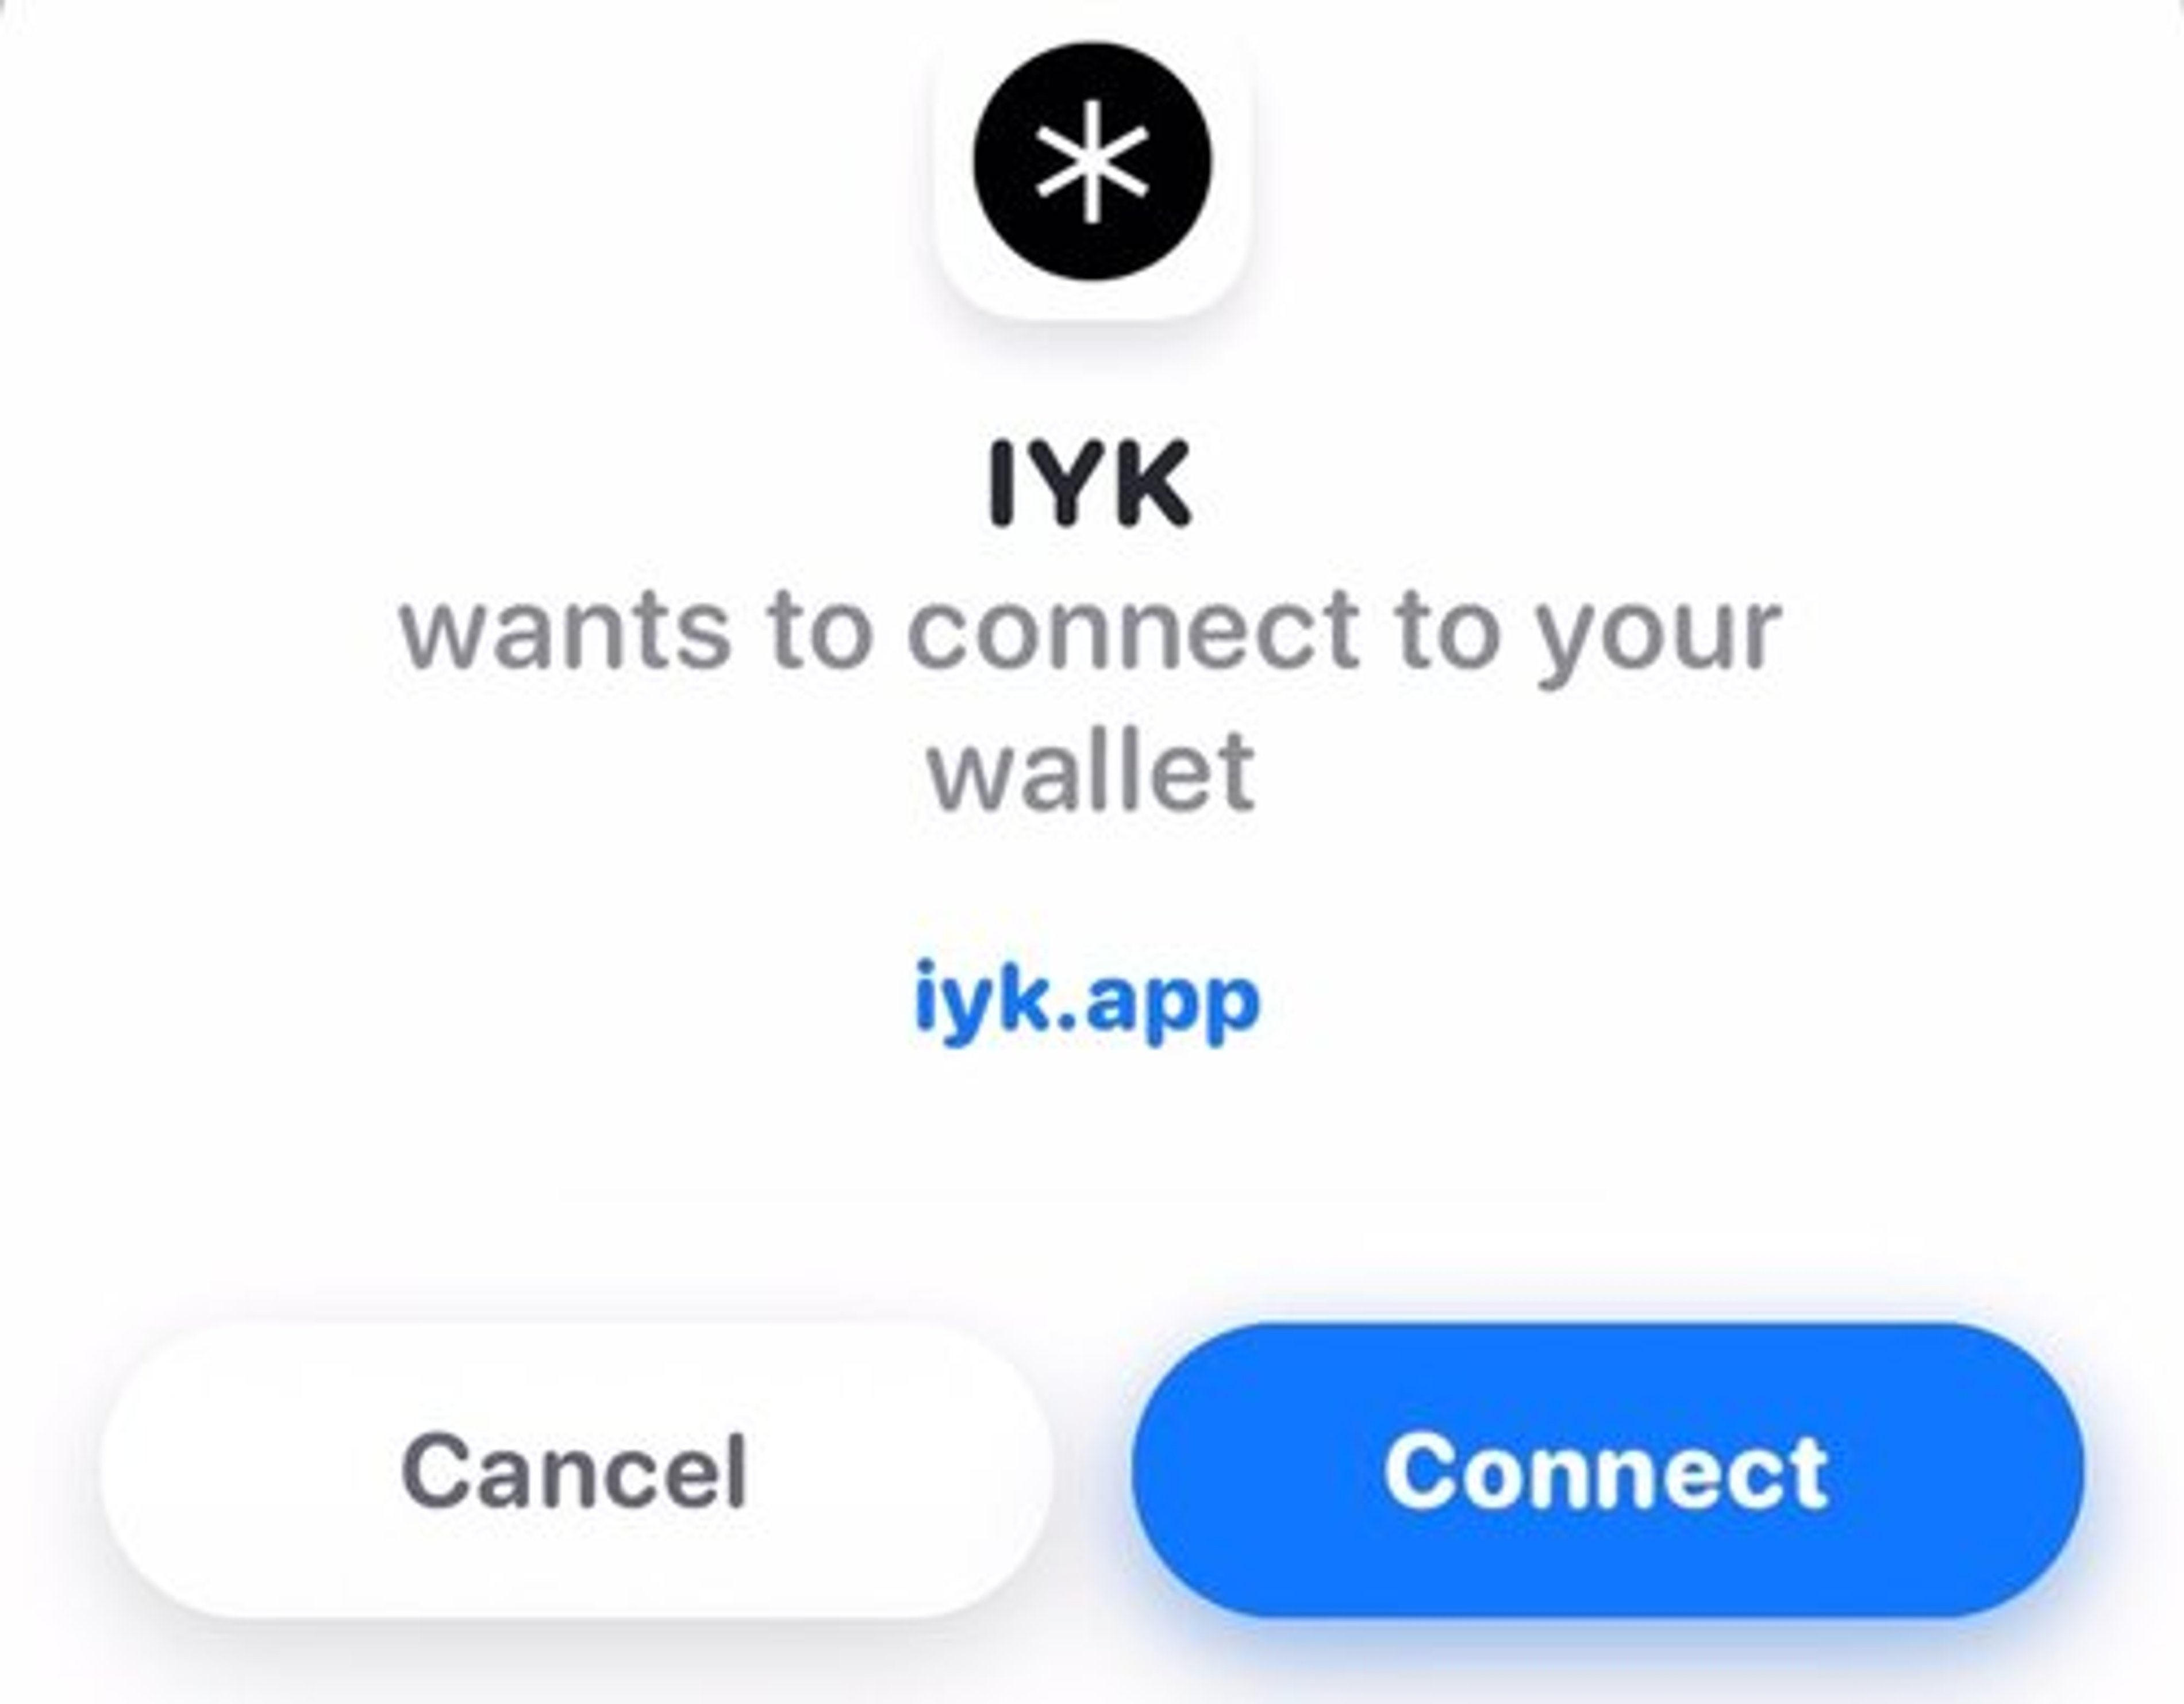
If you don’t already have one, you will need a crypto wallet to sign the contract and store the NFT. The mobile flow supports WalletConnect, which includes Rainbow, Metamask, and other popular wallets. On desktop, the magic link flow supports these same wallets in addition to Coinbase Wallet.
To cover the swap, you’ll need to have a little money in your wallet for gas fees.
How to Claim
1. Wake/Unlock your phone and promptly touch it within 2 cm of the chip.
2. Open the notification and follow the instructions.
3. For additional security, there is a time-delayed two-step verification process.
The two-step claim process is designed to protect the NFT owner by requiring individuals to maintain continued proximity to the item over a period of time.
This process requires the owner to tap the chip an initial time to register the claim, then wait 24 hours until they are able to re-tap and claim the NFT before the claim window expires. If the individual misses the claim window, they can simply tap to open a new claim.
By ensuring that the intended possessor has sustained proximity to the item and can re-tap it within a variable window of time, the two-tap flow eliminates others’ ability to claim the digital asset if they only have temporary access to the item.
Tutorial
Please follow the written steps below to claim your NFT or watch the step-by-step video walkthrough.
Step 1: Registering your Claim
- Tap the chip on your item with your phone and open the notification.
- If you have difficulty tapping the chip, please reference the guide at www.iyk.app/how-to-tap for assistance.
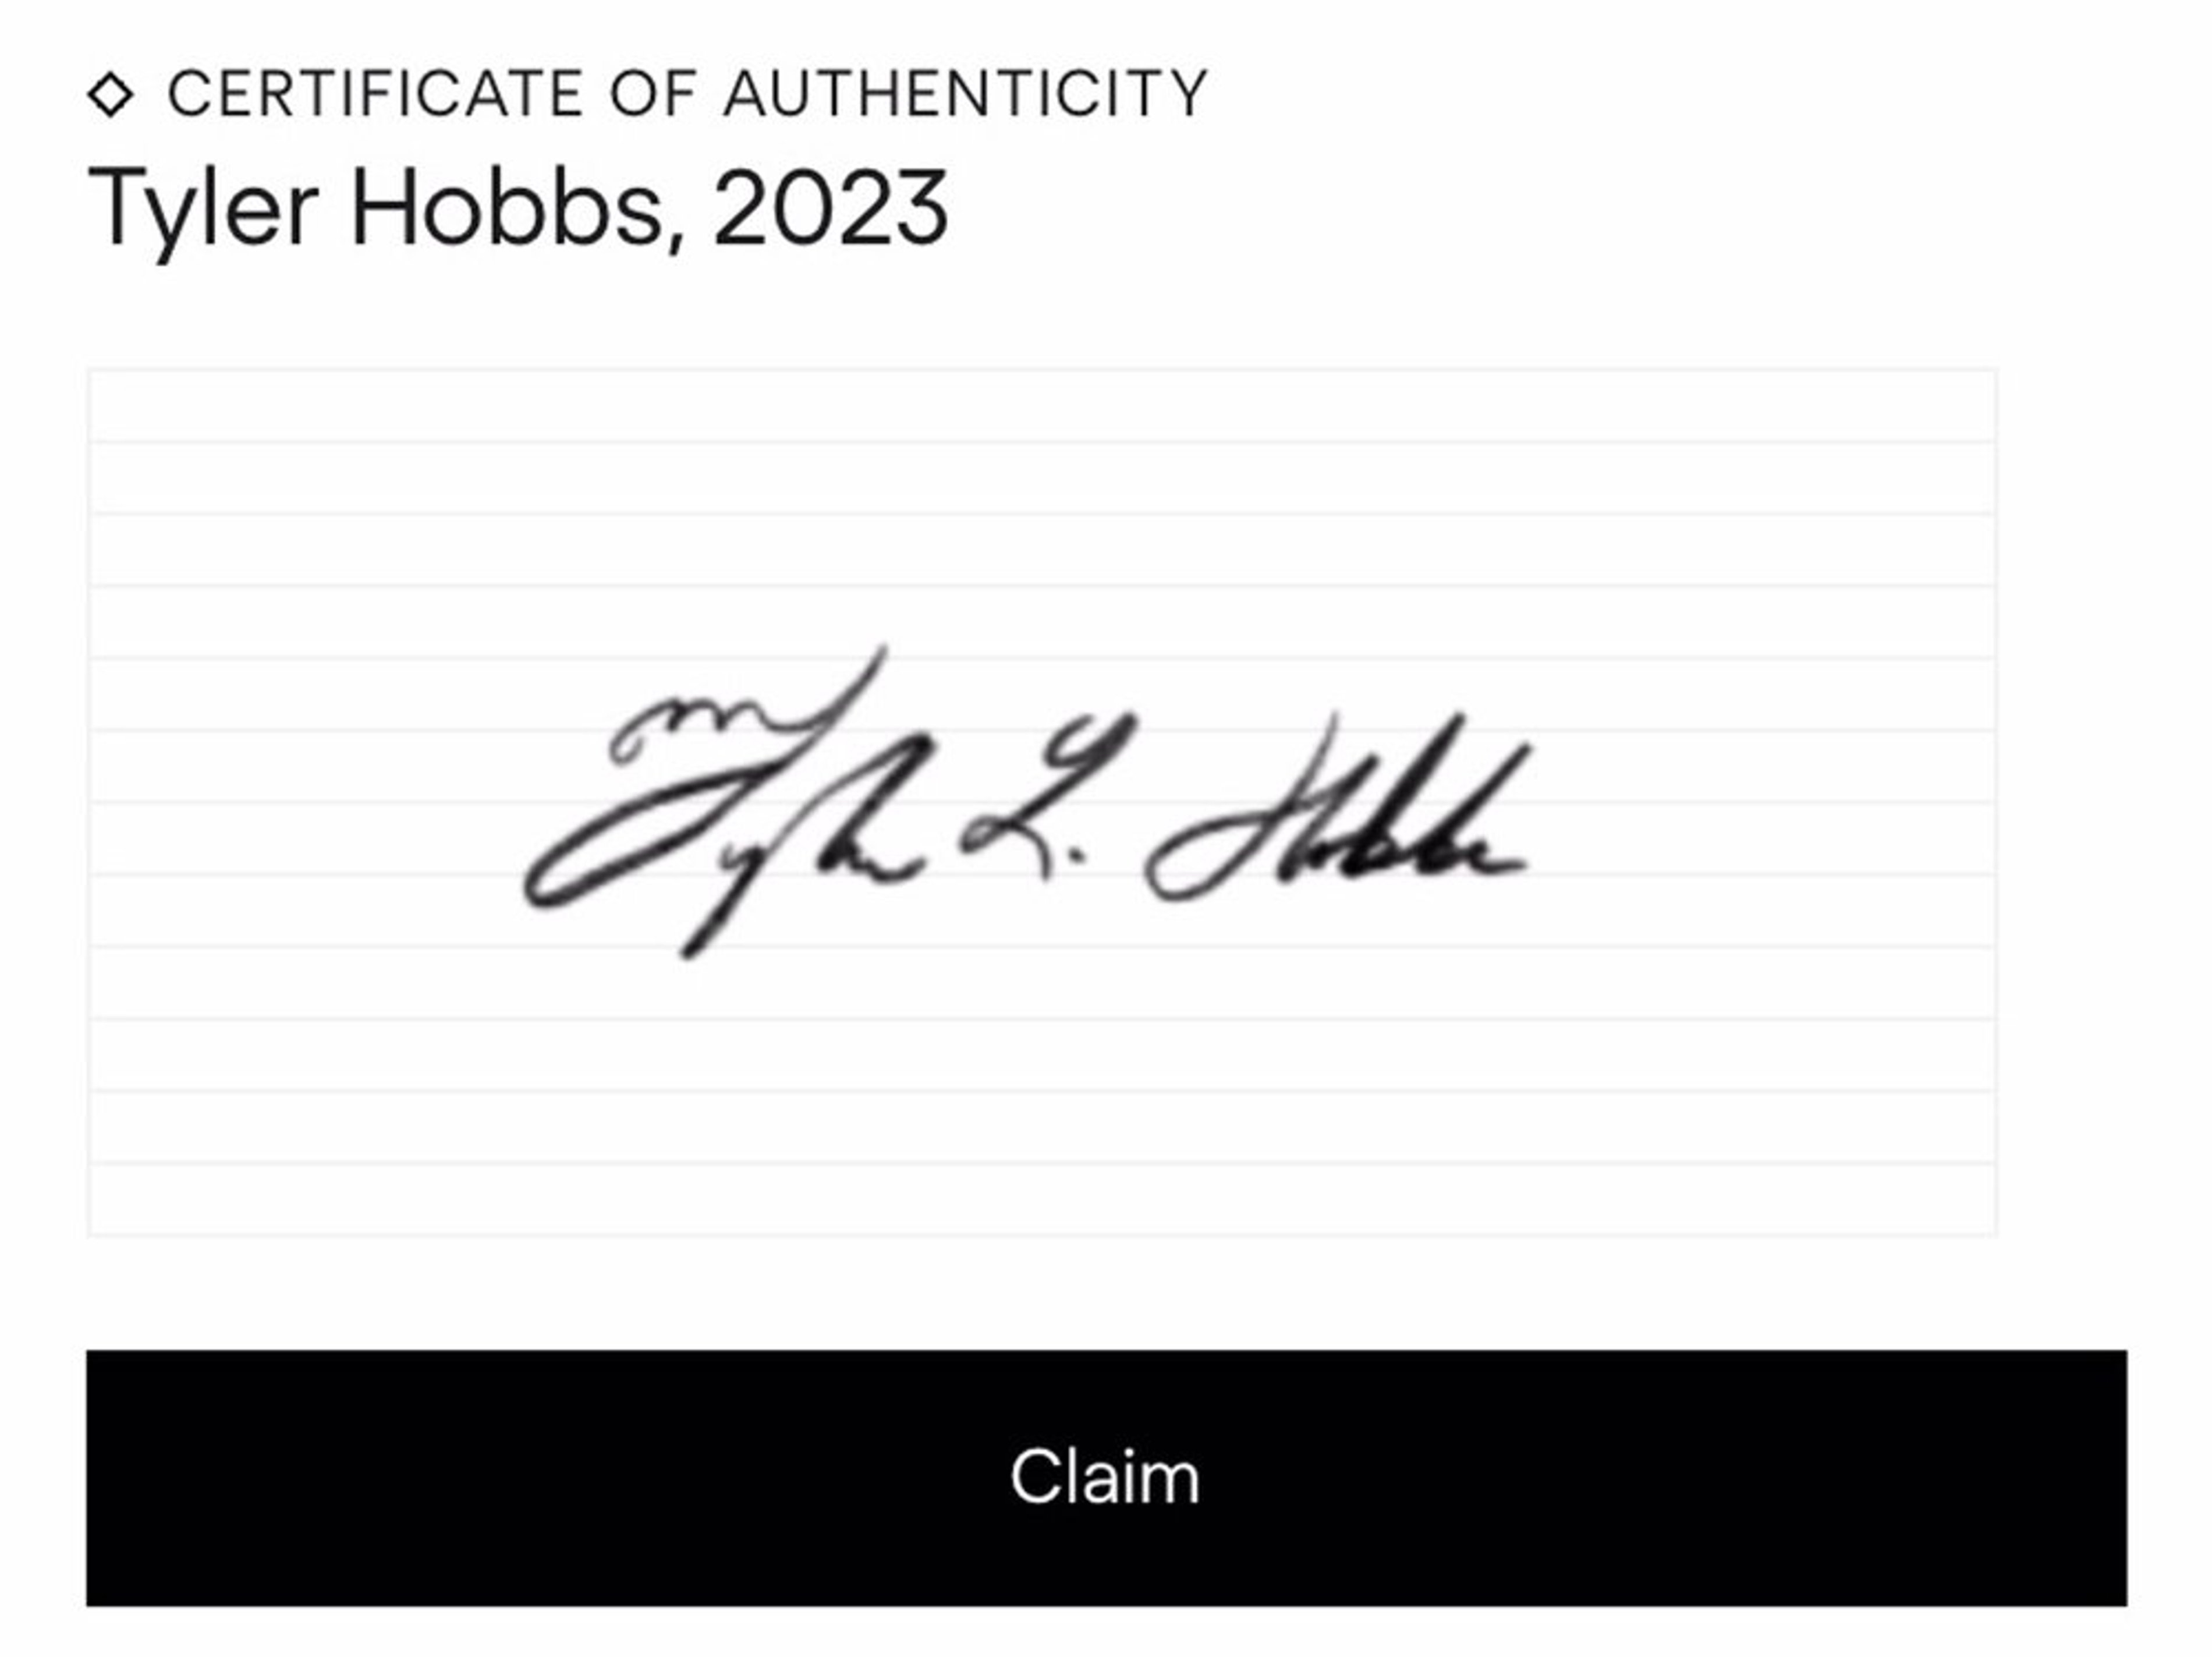
- Scroll down to the Certificate of Authenticity section and click on the Claim button to start the claim process.

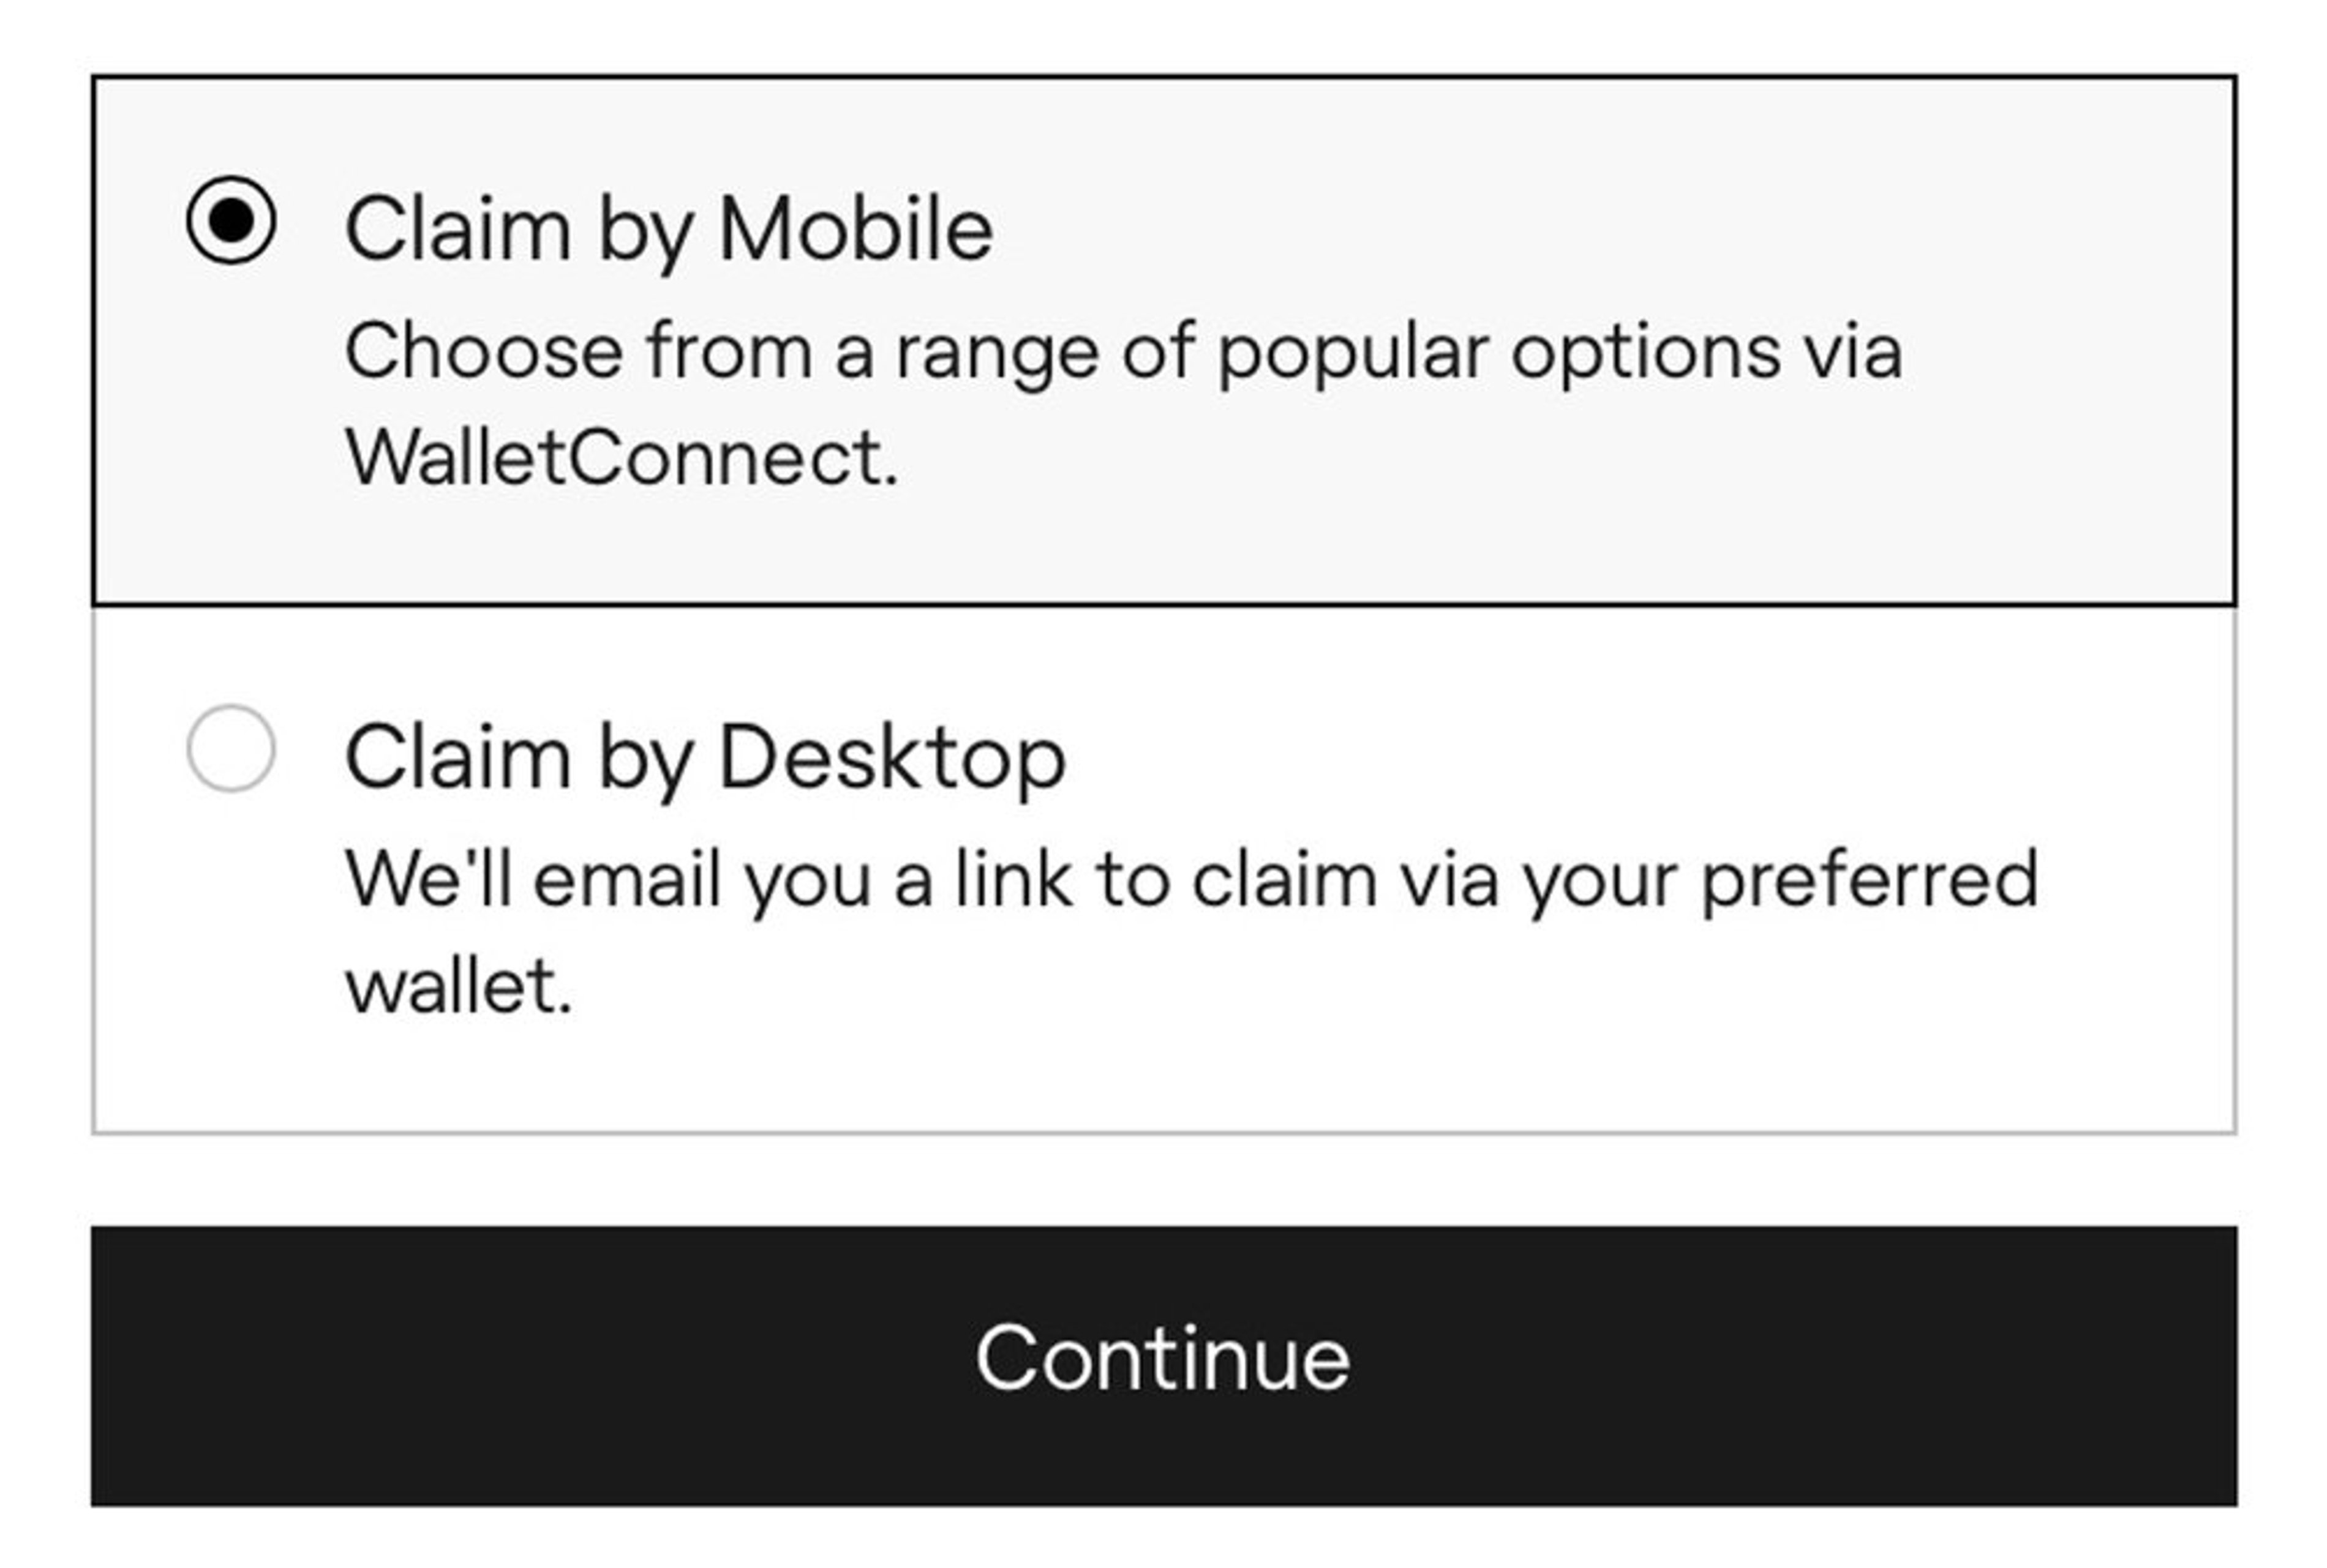
- After reading through the overview and clicking Continue, you’ll then have the option to either claim your token via desktop, or on your phone using WalletConnect. (Note: If you use Coinbase Wallet, you’ll need to select the Desktop option.)
- Desktop: Selecting the Desktop option will allow you to send a magic link to the email of your choice and proceed with your desktop wallet.
- Mobile: Selecting the Mobile option will allow you to proceed with your mobile wallet using WalletConnect.
- Don’t have a crypto wallet? Follow these instructions to create a crypto wallet on your phone or desktop, then return to complete this step.

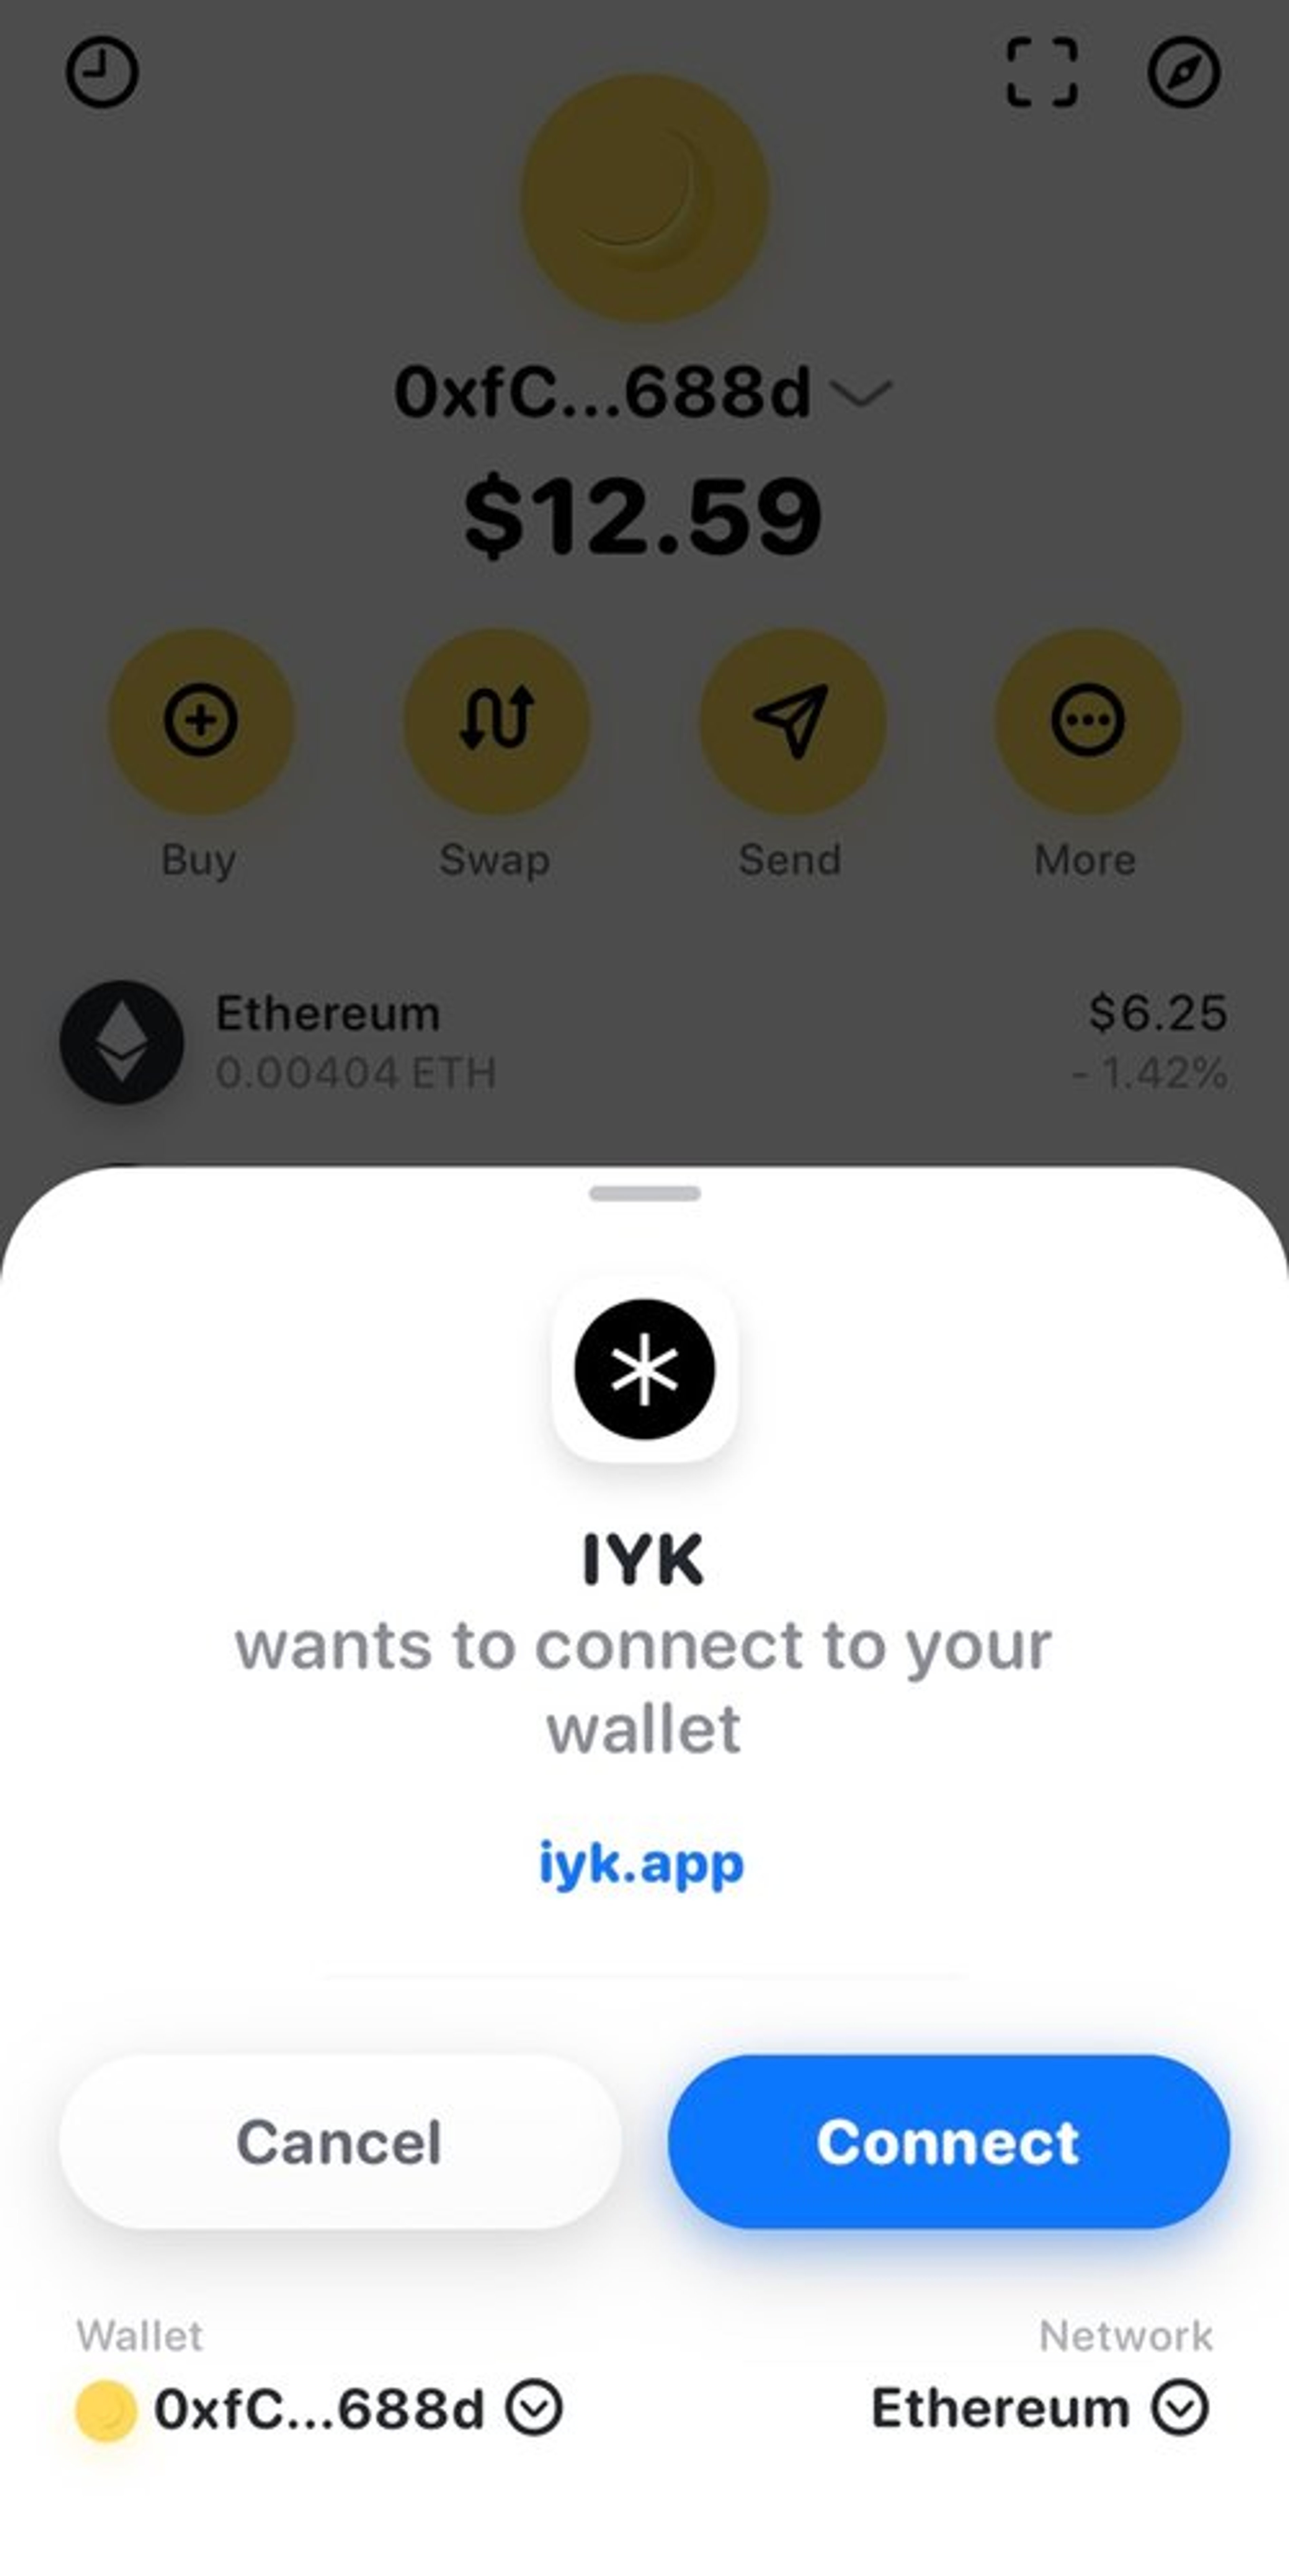
- After clicking Continue and connecting your wallet, sign the message to verify your wallet ownership and register your claim.


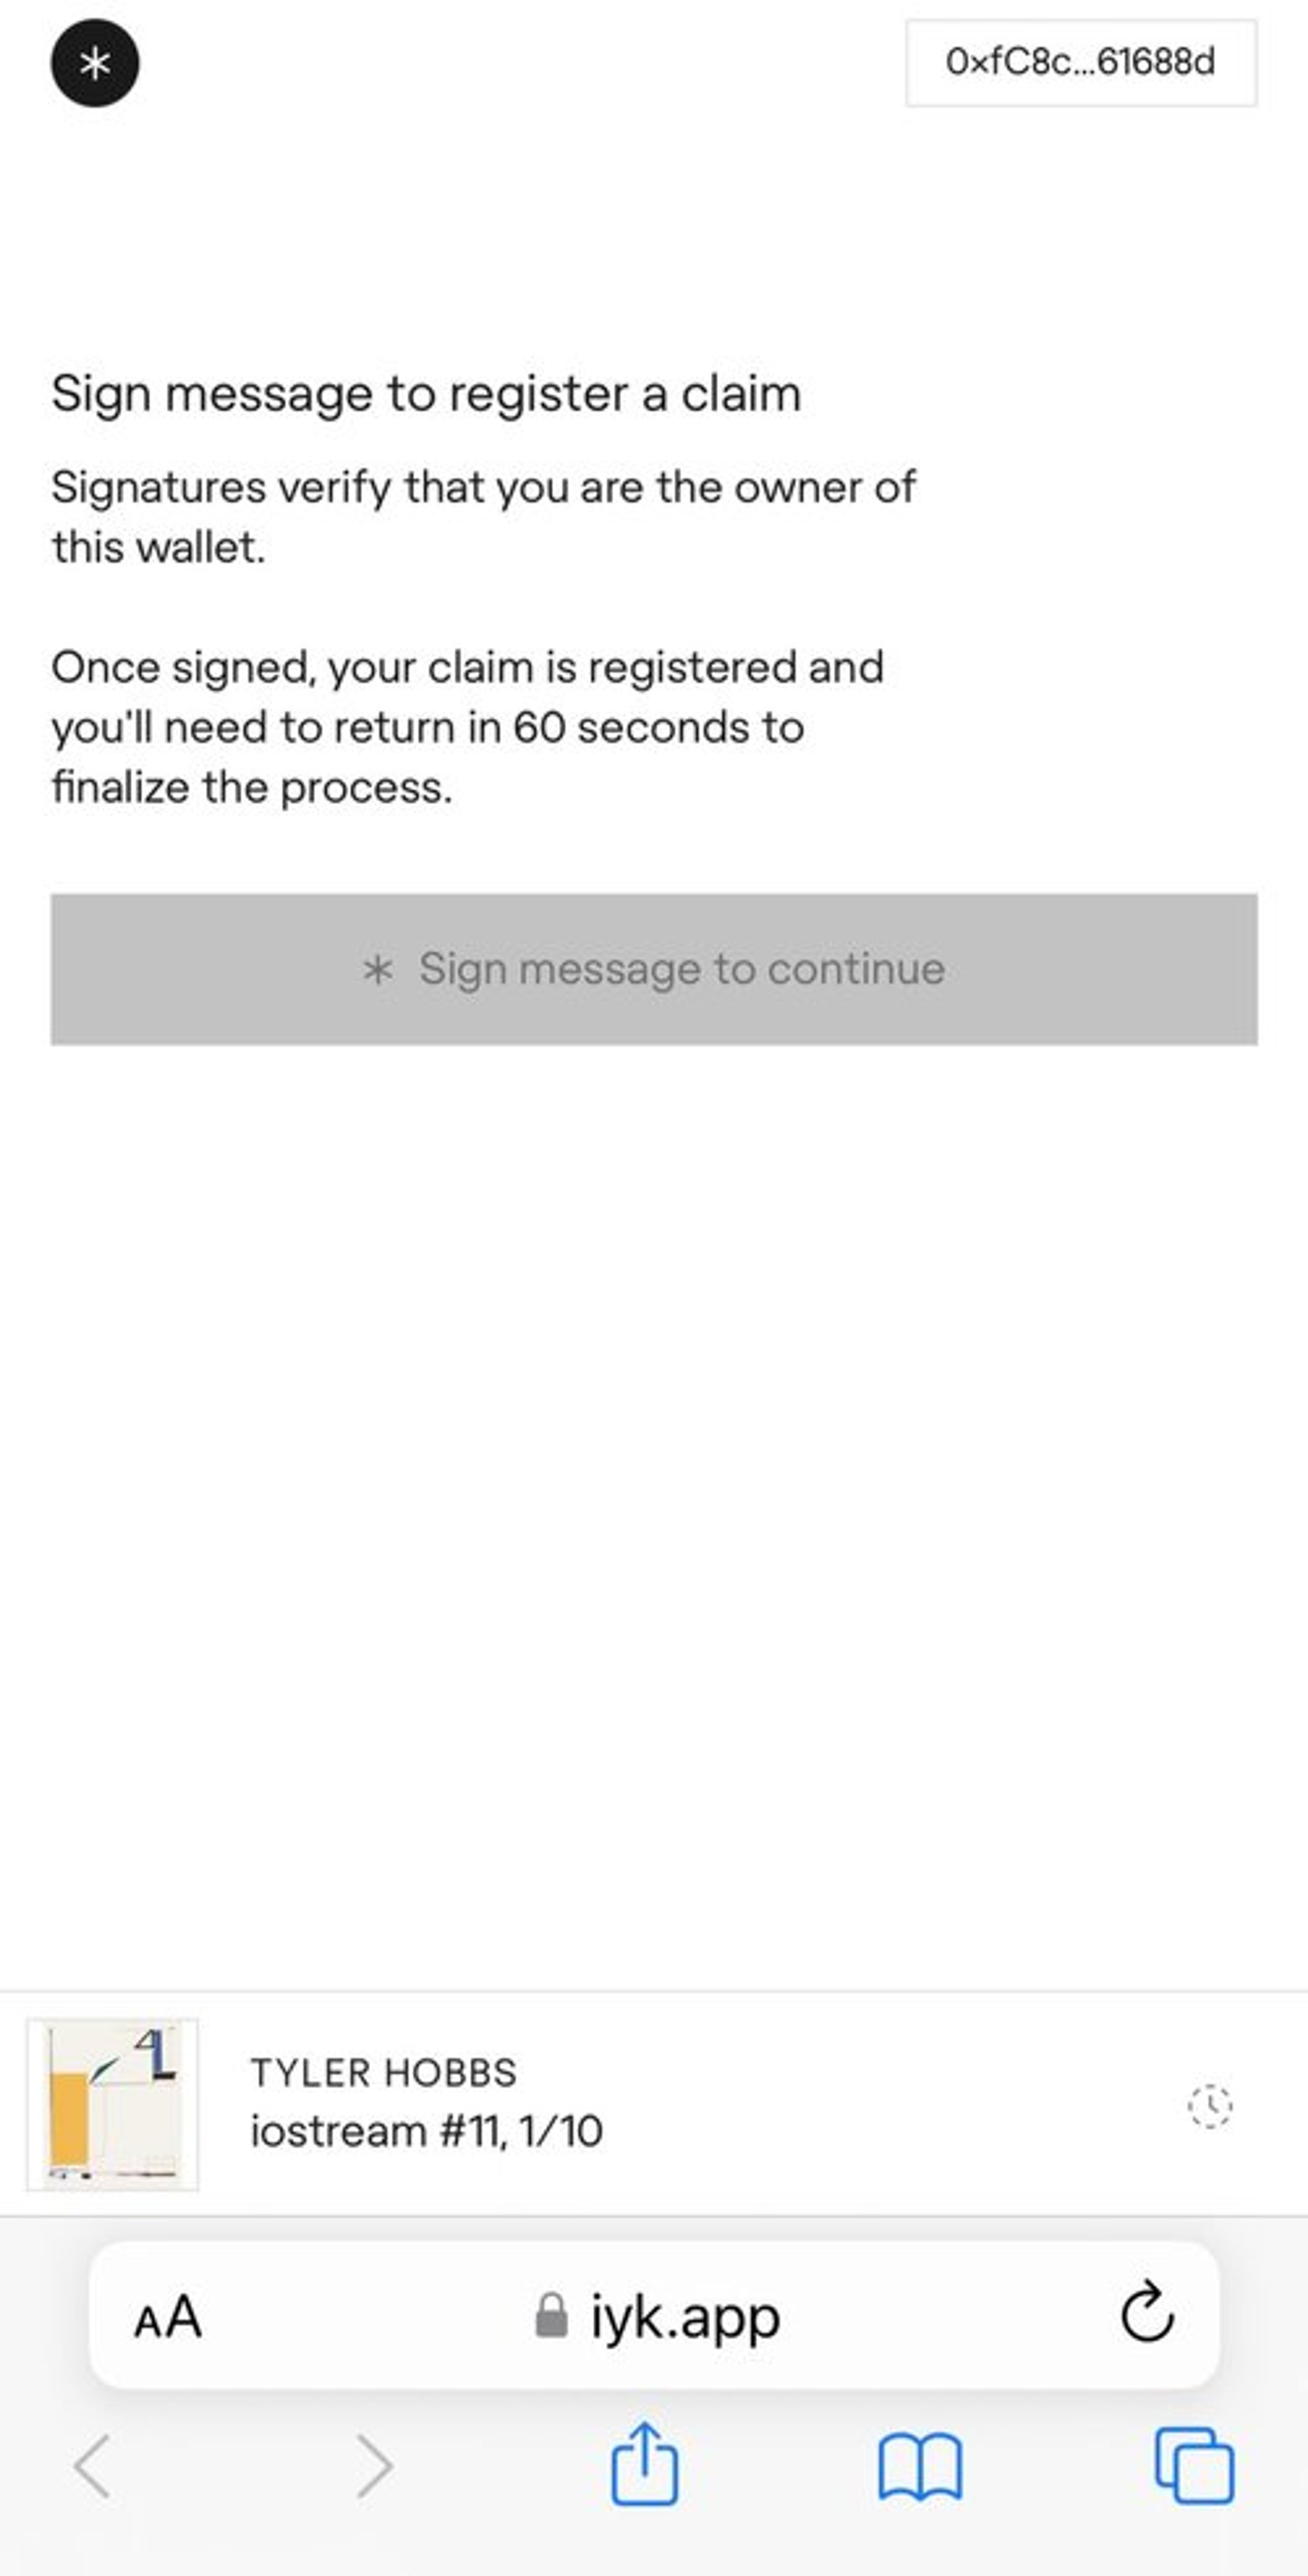
- After registering your claim, you’ll be brought to a confirmation screen. Please enter your email address to be notified once it is time to finalize the claim.

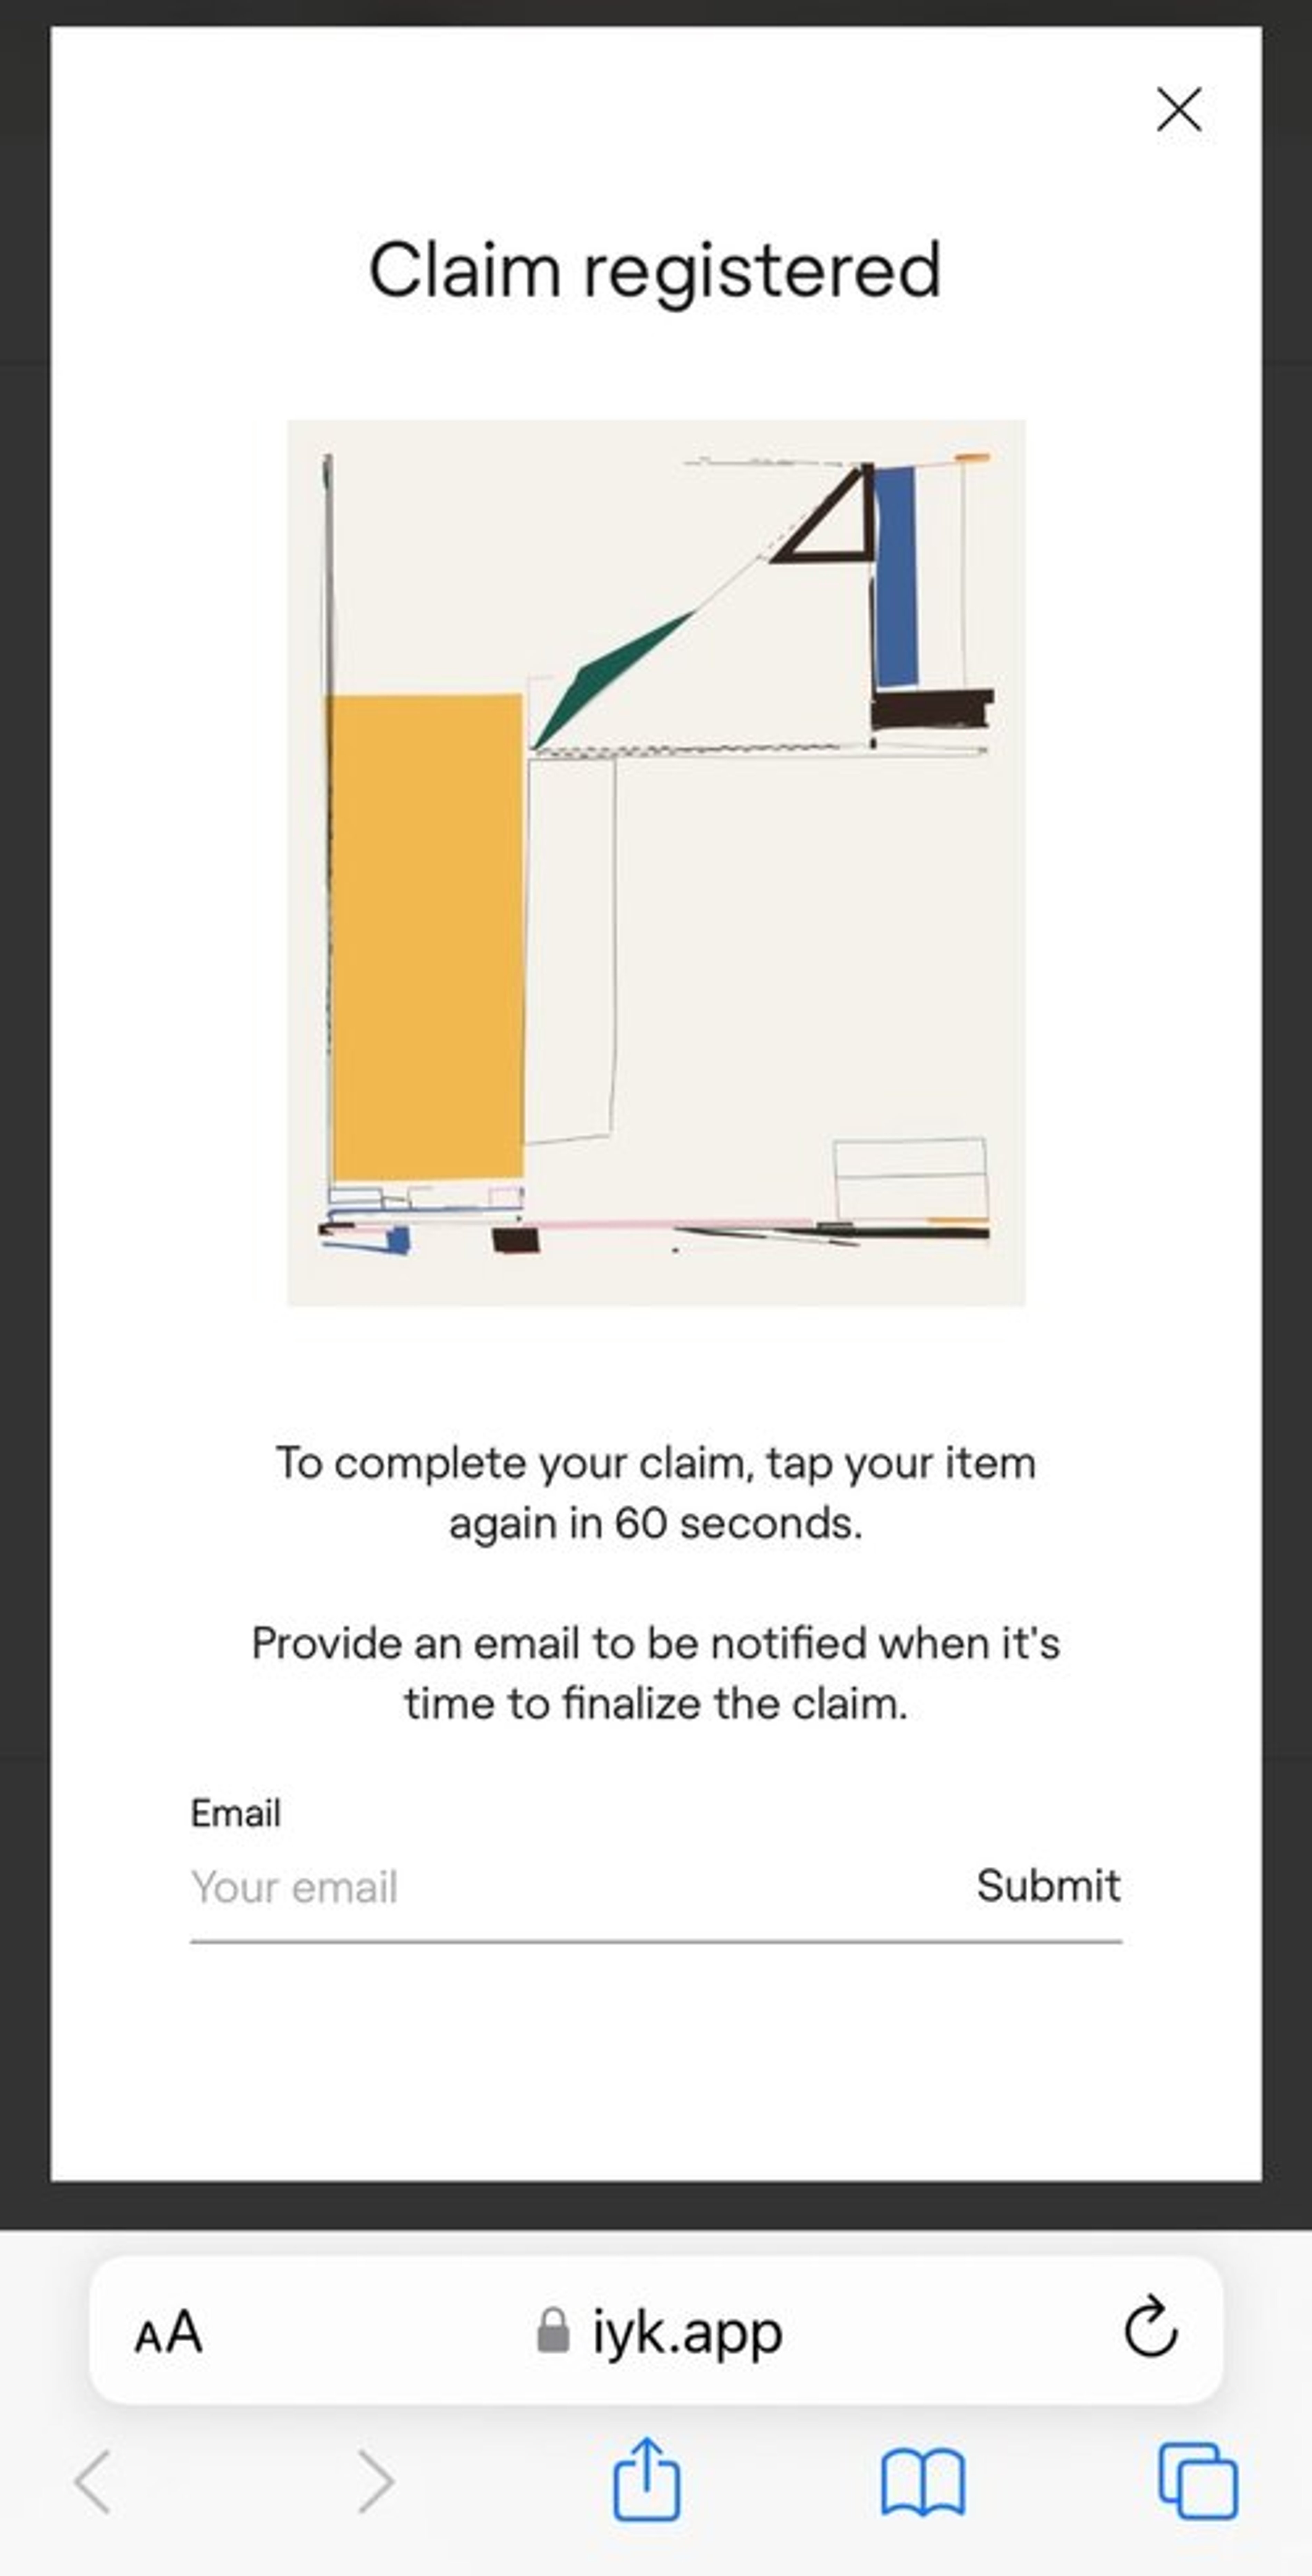
- Keep an eye on your inbox (and spam folder just in case!). You’ll receive an email from claim@iyk.app once your claim is ready to be finalized.
- Please note that for security reasons, the claim window will expire within 24 hours.
- If the claim window expires before you can re-tap your item, you’ll need to return to step 1 above to restart the claim process.
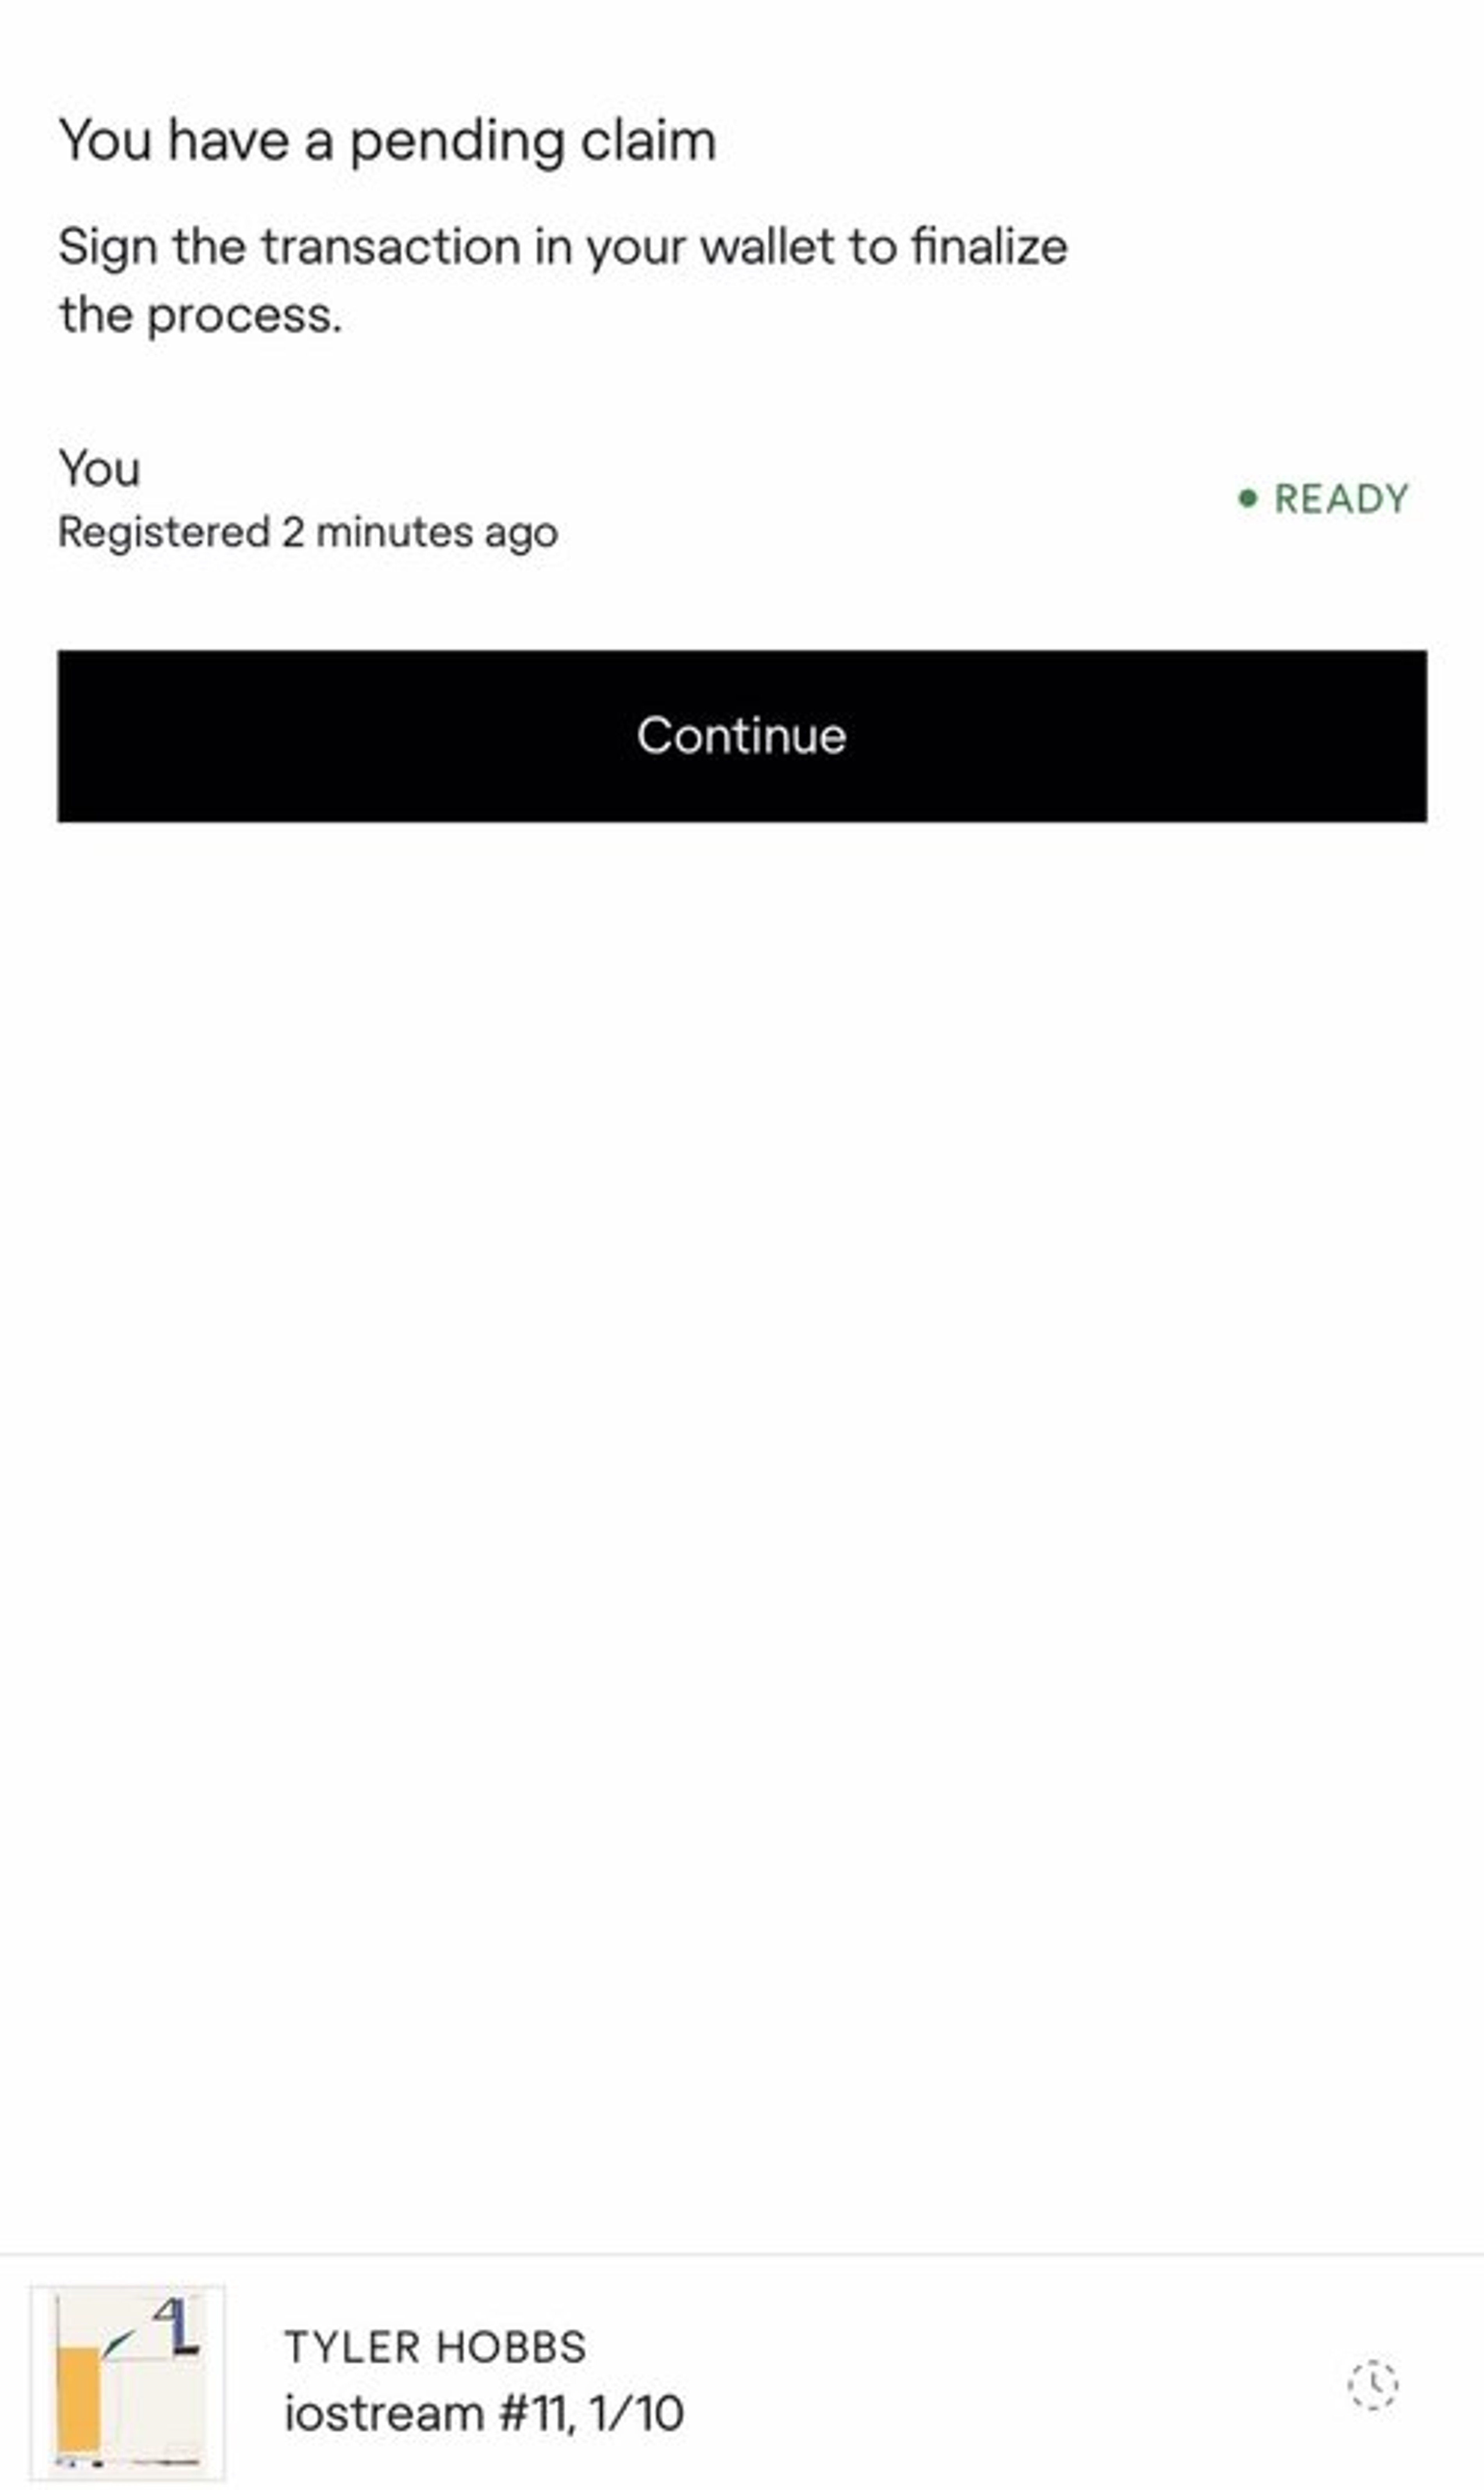
Step 2: Finalizing your Claim
- Once you’ve received the email notification, you can re-tap your item and connect the same wallet used previously.

- Click the “Continue” button in your mobile browser and confirm the transaction request in your wallet to finalize your claim. You’ll need a little money in your wallet to cover gas fees.
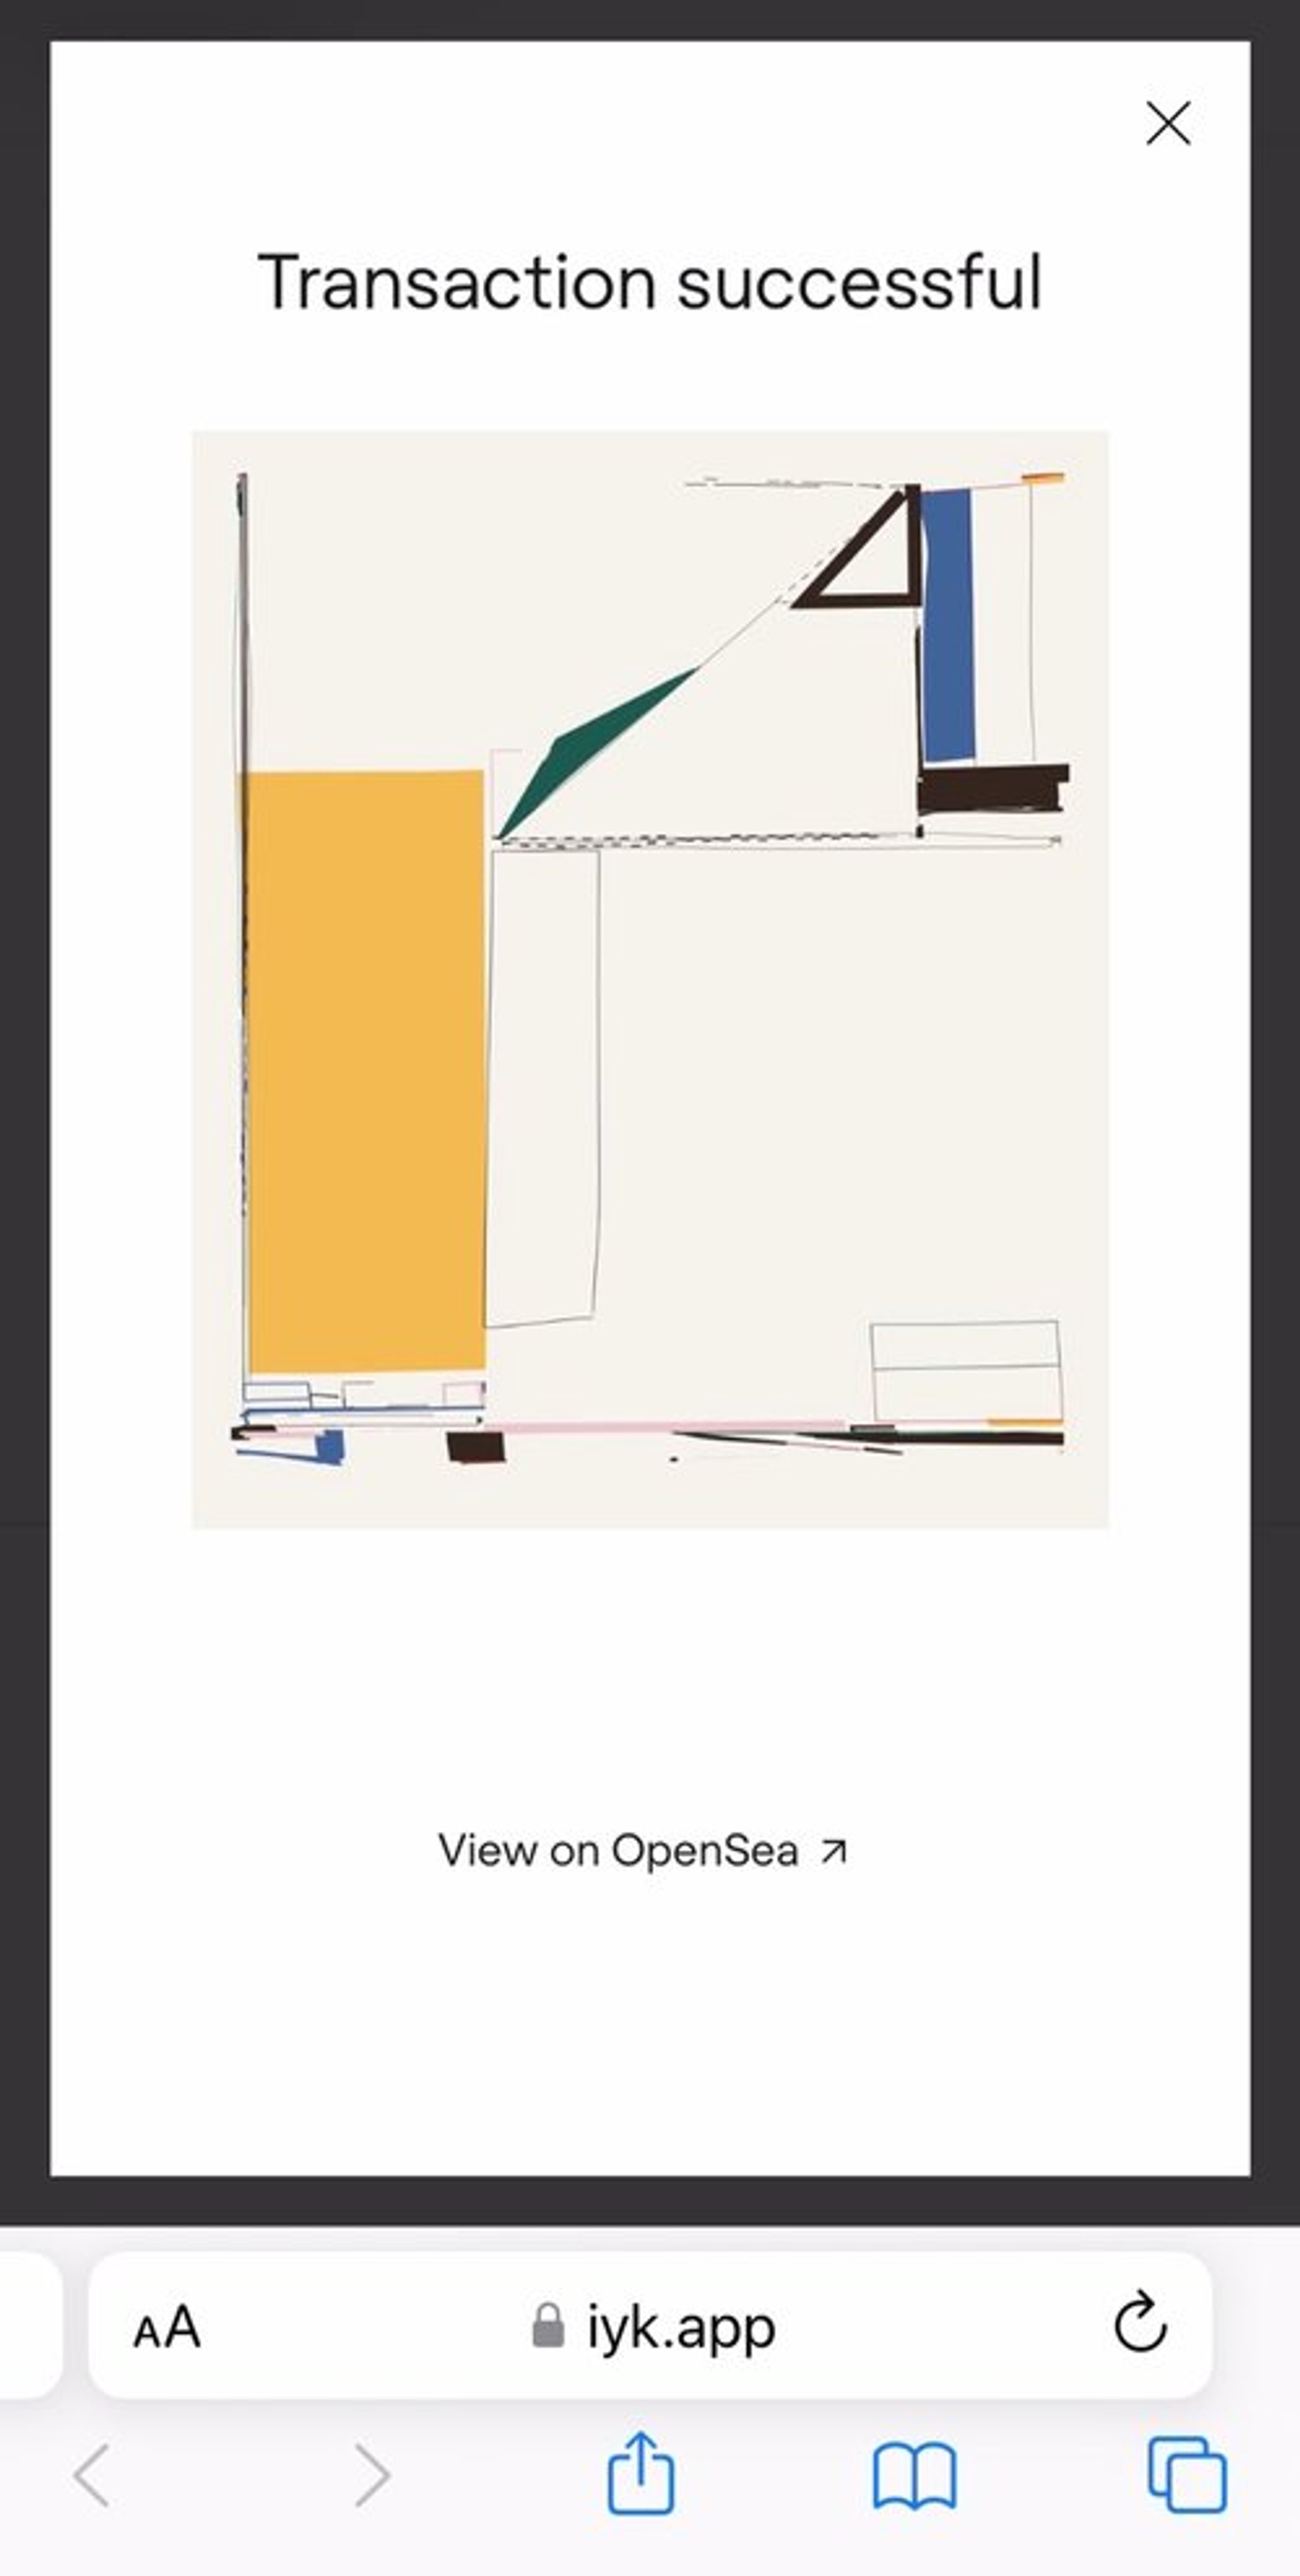
- You’ll see a “Transaction successful” message once your claim has been finalized, and can also view your token on OpenSea.


FAQ
How does the NFC chip work?
The chip uses near-field communication (NFC) and blockchain technology to link to an NFT associated with your physical piece. The NFT only indicates ownership and can not be sold or traded.
A majority of modern smartphones are equipped with NFC reader capabilities (the same scanning technology that Apple Pay and Google Pay use). Tapping the NFC chip with your phone allows you to activate the chip and claim the NFT—no app required.
What is "Proof of Proximity"?
The only way to transfer the NFT is via “proof of proximity”. The chip emits a dynamic, single-visit link via NFC. This link expires after it’s hit once or in 30 minutes, making it hard to share the page.
Scanning the NFC chip with a phone can only be done at a range of ~2cm as well. This allows you to be reasonably confident that whoever is on that page is right next to the product.
Could someone near me scan the chip and take the linked NFT out of my wallet?
We’ve implemented a 24hr delay, so even if someone were to scan the chip, they would need to have access to it again during a specific window of time to put it in their wallet and complete the transfer. However, in the rare case this were to happen, you can just re-scan the chip and pull the NFT back into your wallet. This transfer will be captured on the blockchain.
Tech Specs
How is using an NFC chip to store content different from using a QR code?
QR codes contain static data, and can therefore be cloned. The NFC chips have unique encryption keys and emit dynamic, expiring links, so we can be sure that anyone accessing the NFT is doing so from a genuine product.
Which blockchain is the NFT deployed on?
The Tyler Hobbs COA NFT is on Ethereum Mainnet and the smart contract conforms to the ERC721 standard.
Who pays for the gas associated with an NFT swap?
The user pays for their own gas.
Troubleshooting
For iPhone 11 and newer (excluding iOS 15.4)
- Wake your phone and promptly touch the top edge of your phone to the chip.
- Open the notification and follow the instructions.
For iPhone 7, 8, and X
- Wake and unlock your phone.
- Swipe up to open the Control Center and click on the NFC icon (shown below) to enable NFC scan mode:
- Promptly touch the top edge of your phone to the chip.
- Open the notification and follow the instructions.
For Android
- Make sure NFC is enabled in settings.
- Wake and unlock your phone.
- Touch the center of your phone on the chip.
- Open the notification and follow the instructions.
I have one of the older iPhone models above and can’t find the NFC icon in my Control Center.
- You might need to manually add the NFC icon to your phone. You can do so by following the instructions here.
My phone is having trouble detecting the NFC chip.
- If you are on an iPhone and you have your Camera app open, close it and try again. The Camera app interferes with NFC reading on iOS.
- If your phone battery is low, charge it and try again. The NFC chip relies on power from your phone to establish a connection.
- If you’re using wireless headphones, like Apple Ear Buds Pro, they use NFC technology to locate your devices and can interfere with detecting the chip.
Questions
Contact us at studio@tylerxhobbs.com